Tuesday, February 9, 2010

Geeky Gifts!


My top 5 Geeky Gifts...for the Geek in your life!!!

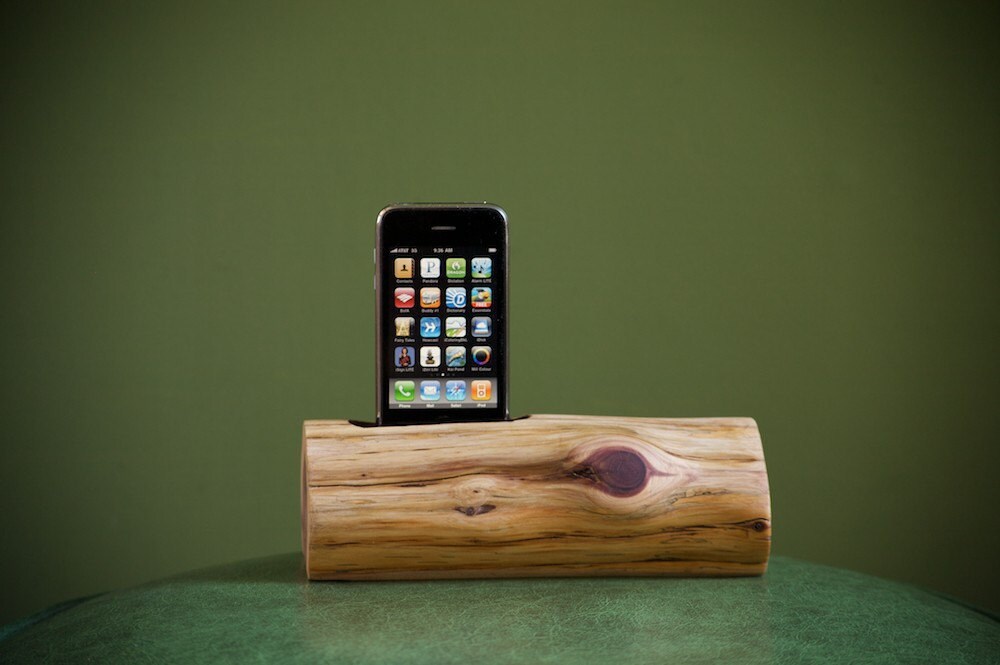
#5
Charging Doc!

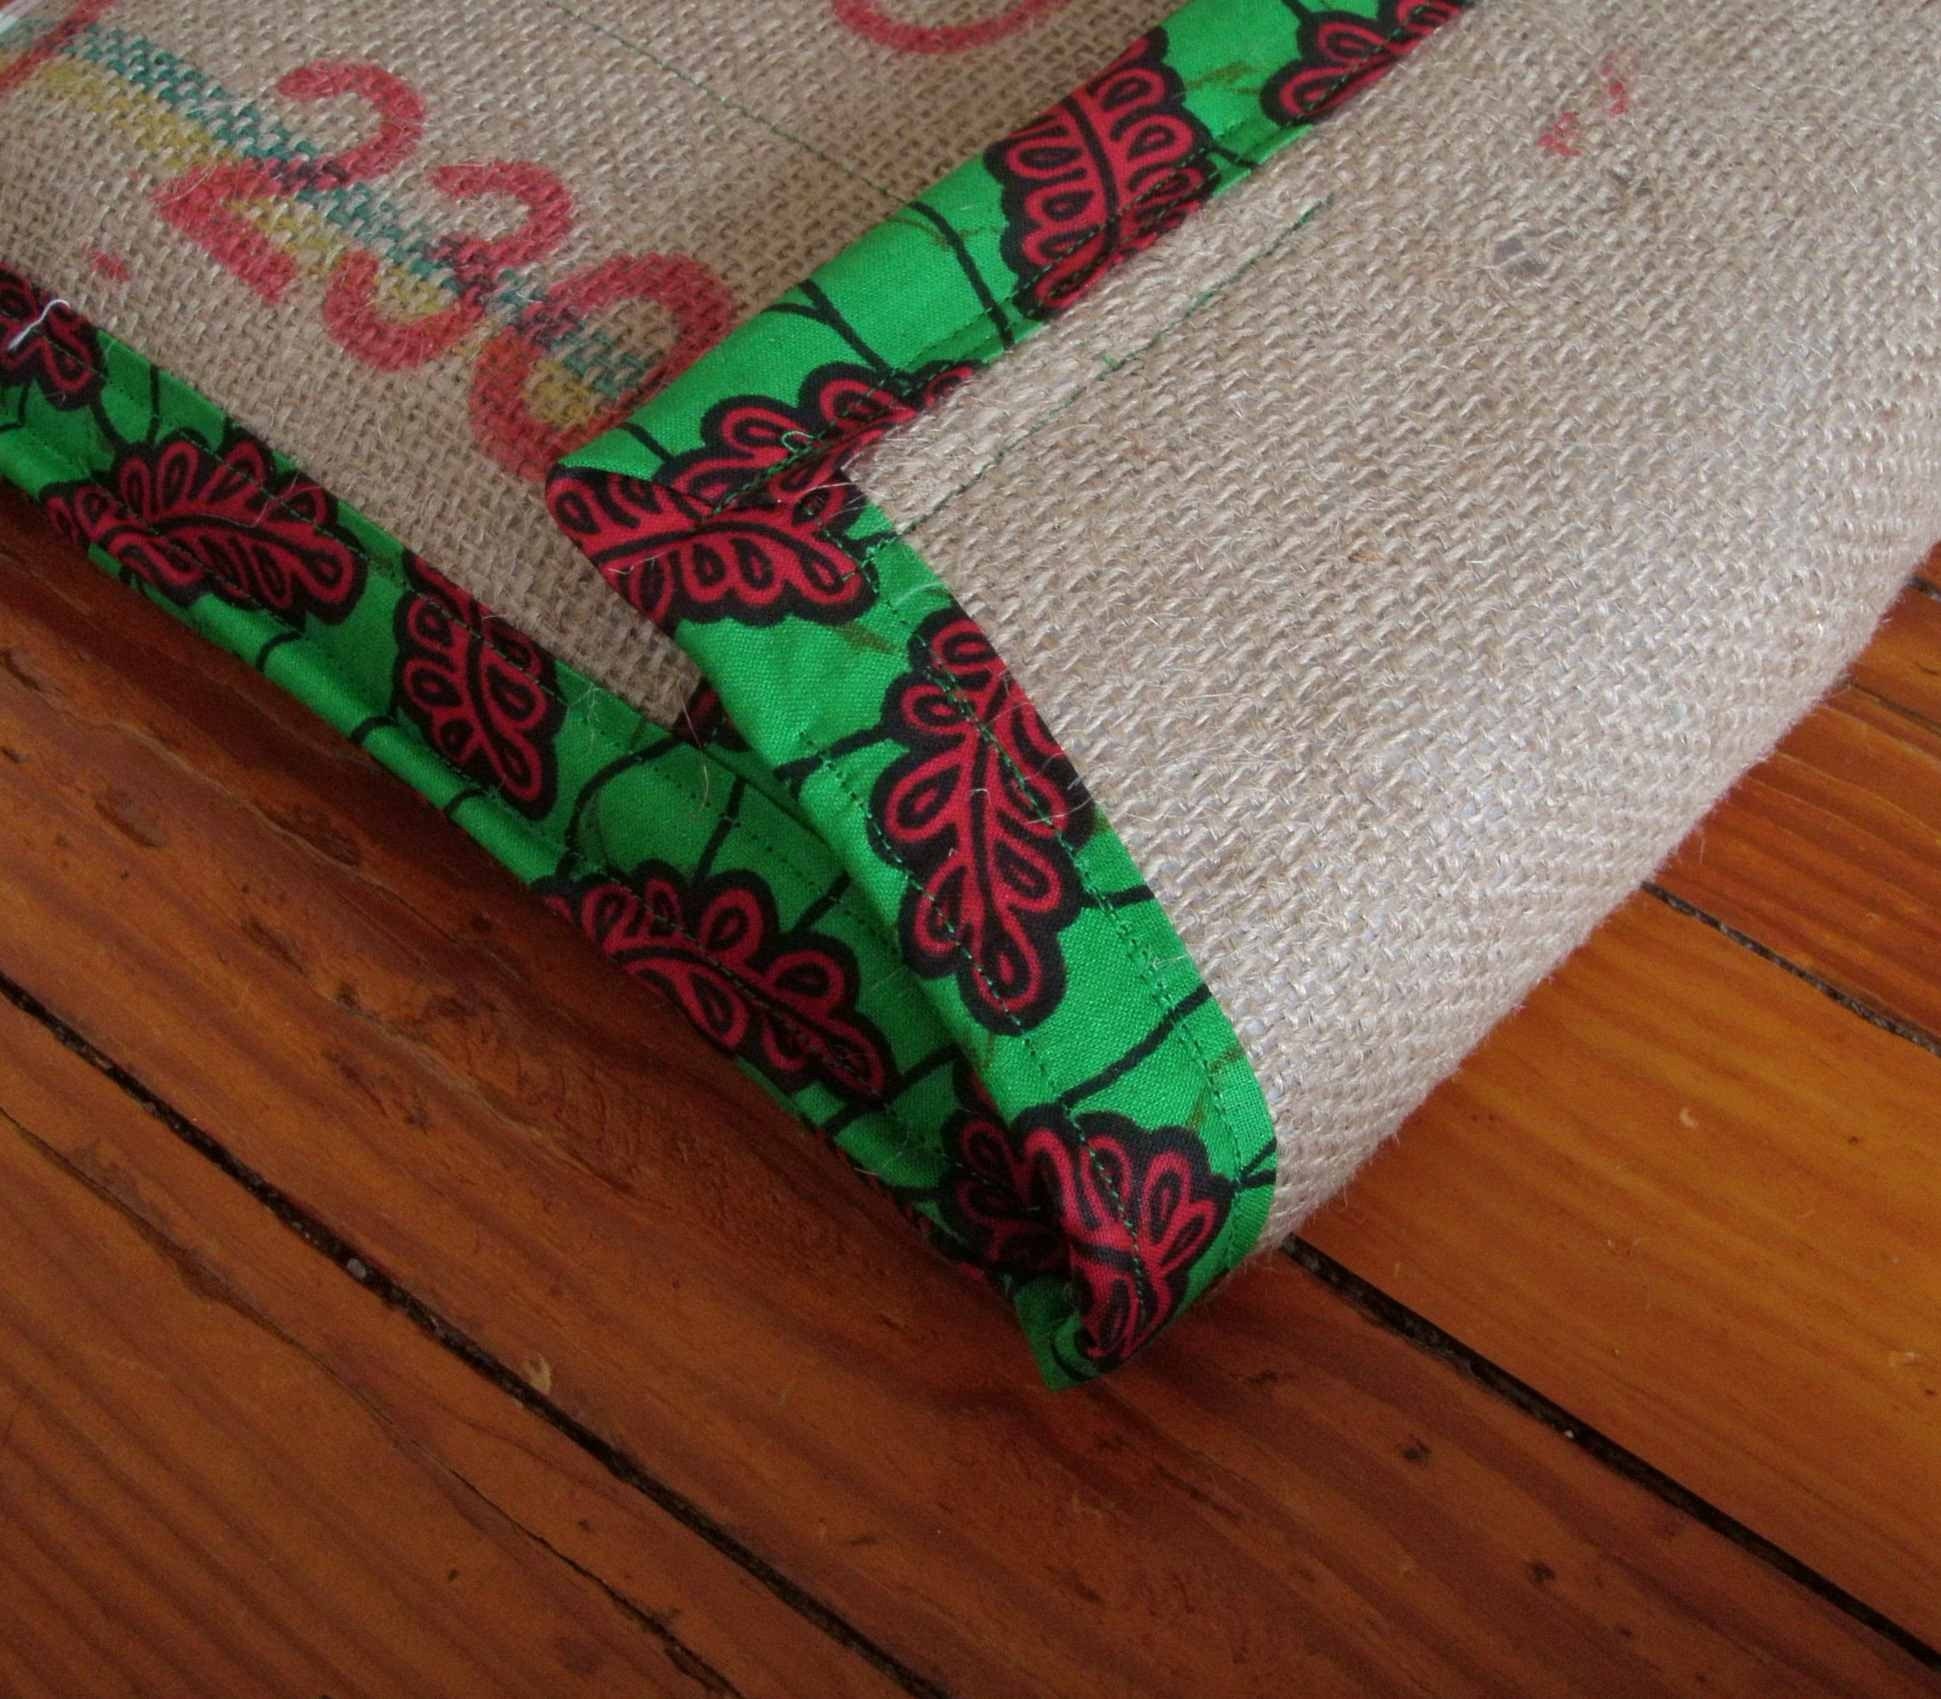
#4
Laptop Case by

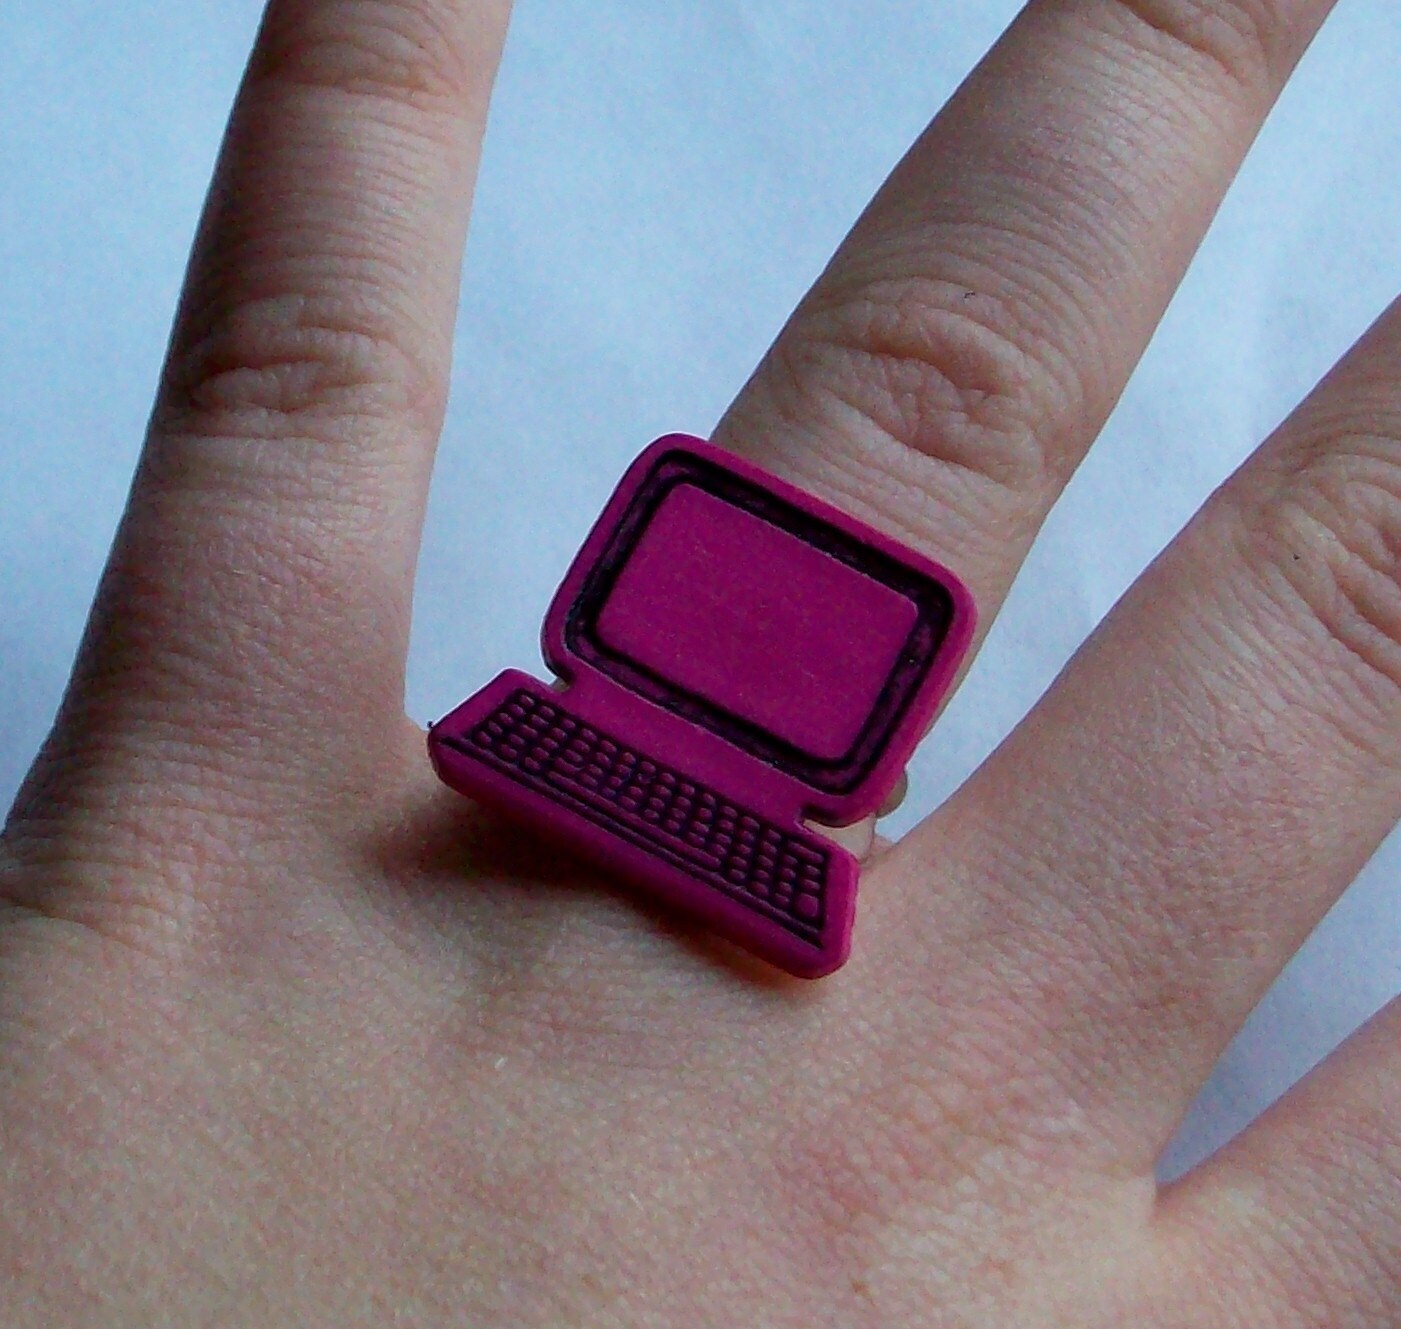
#3

Cute Geeky Ring!

#2

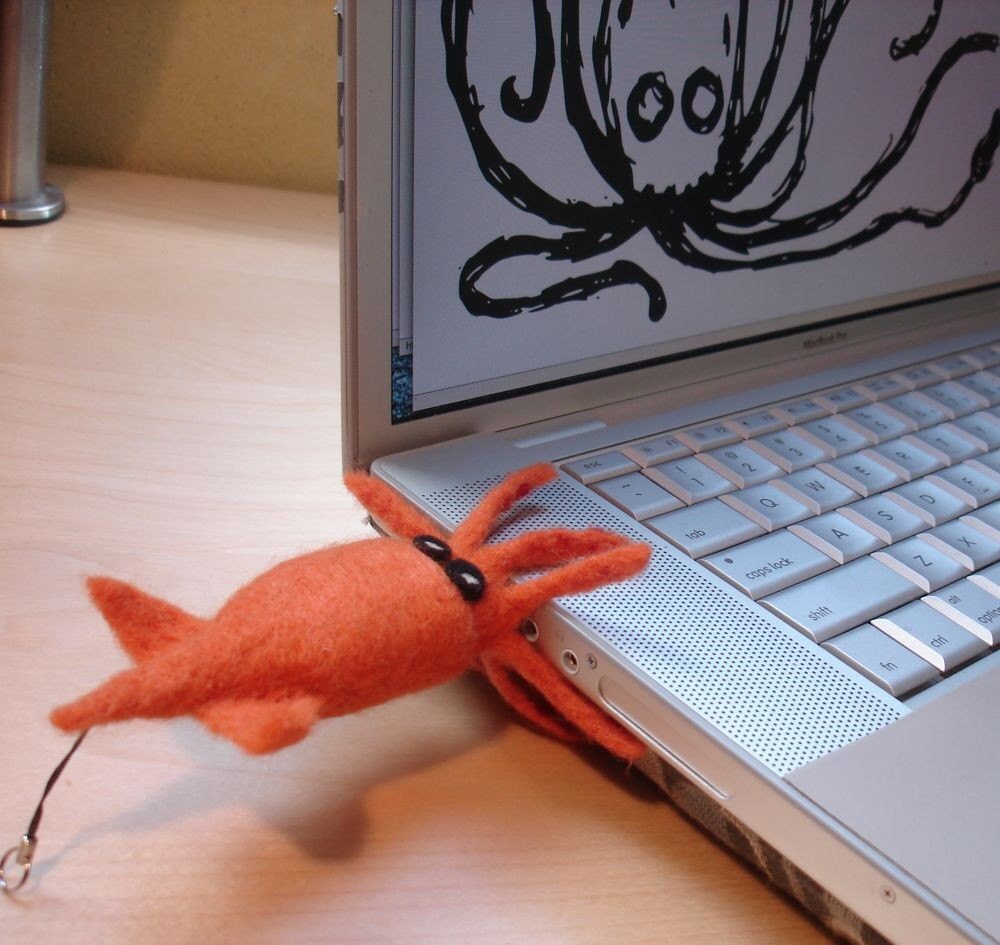
USB Flashdrive!

#1
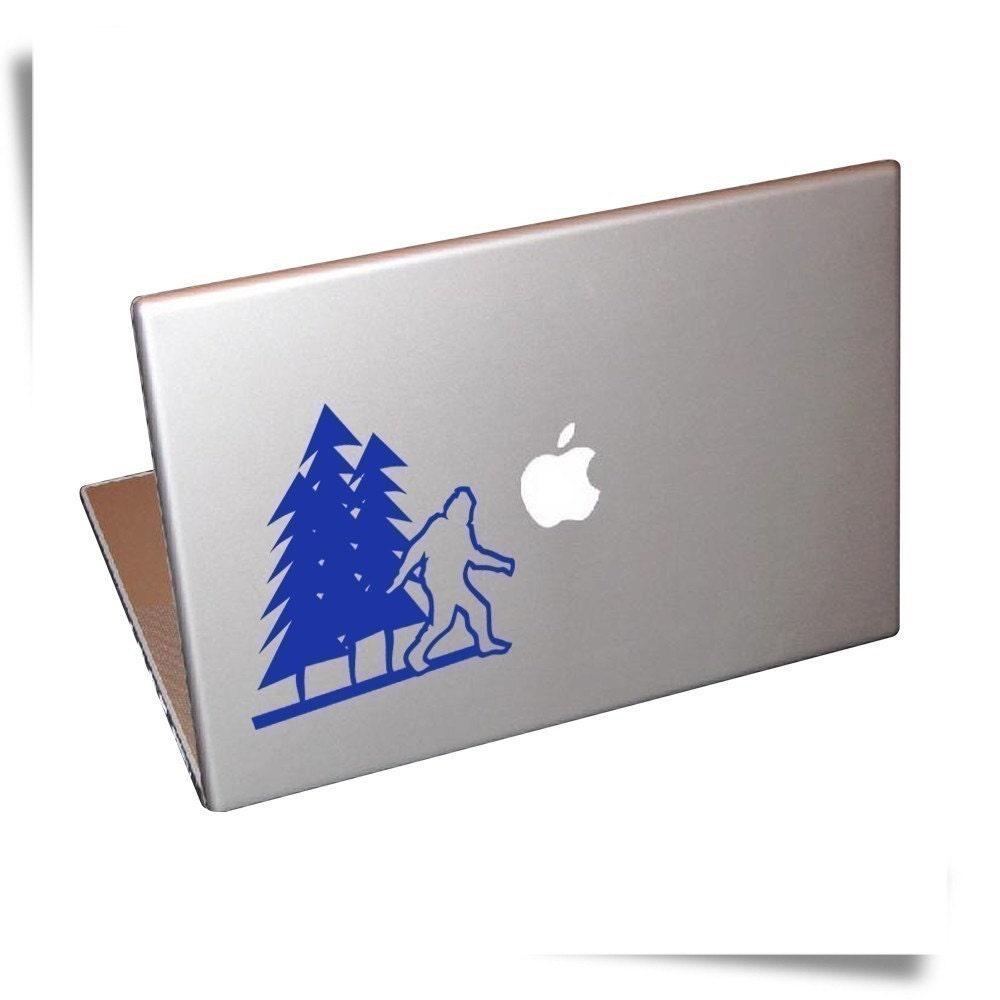
Big Foot Laptop Decal!


Wow that was fun!!! Hope you have a geeky Valentine's Day! Ill be back next week with a little tutorial on how to bling out your blog!!!

-Geeky

Monday, February 8, 2010

DIY Valentine's Day Gifts


I LOVE finding a good tutorial!  I have a favorites folder a mile long of only tutorials and patterns.  It makes all my blog surfing worthwhile!  I've found a lot of great tutorials for Valentine's Day gifts, too.  They all look super simple and fast and that's what I like!   So, here's a few ideas for the people you heart!


and don't forget for sweetie's sweet tooth!

YUM!

I hope you found these tutorials helpful and inspiring!  Now go out and make a GREAT Valentine's Day gift for the one you love!!!!

Have a great day!
DeAndra 


Thursday, February 4, 2010

What the?!?!

Hello!! Today's post will answer those questions that should be answered, but not necessarily asked in your stylist's chair.  Ooh, scandalous!

What is a proper tip for services?
Well, if you think that a normal tip for someone who brings food to your table is 10-15%, it's fair to say that the person who went to school for hair, has kept up continuing education classes, and ensures you leave her chair lookin h-o-t, should receive 20-25%.  Keep in mind, though, that a tip is not required, but rather used to show appreciation for the stylist's efforts and for producing a great look.  If you are totally satisfied, tip as high as you want (*wink*)!  However, leaving a tip only to call again and complain (i.e.I really did love it but my husband/boyfriend complained that I spent $150 at the salon and now I have to retrieve the bills to save my relationship) is generally frowned upon.  If you are truly unhappy, that leads me to....

How do I handle being unhappy with my cut/color?
If it's your first time seeing that stylist, you simply tell her/him that it was not what you had in mind and see if they can fix it immediately.  Do not, do not, just walk away acting like everything is ok.  You are a paying customer, afterall.  Now, that does not mean turn into the Incredible Hulk and start cussing and throwing things, name-calling and other embarrassing reactions.  It simply means that you should leave somewhat content if the unthinkable does occur.  If this is someone you have been going to for a while, hopefully you have built up enough of a relationship with them that you can just be straight forward and know they will fix it in a snap. Sometimes your vision and your fantastic stylist's miss each other...but I am sure you have all heard the saying, "I'm a beautician, not a magician!" To ensure your end result is what you want, communicate.  Bring in pictures of what you like as well as what you don't.  Listen when your stylist tells you something won't look as good as what you think it will----(platinum is not a universal color, and a pixie cut does not make you look like Posh).  Keep in mind that very rarely are refunds given, so once you pay it's done.  You can return to have that stylist try again, but it is best to address the situation when it happens.  If you really and truly don't notice the heinousness of your cut until you go to fix it yourself (a stylist's blowout can hide many a blunder), call back and speak to her/him directly.  If it's so bad you don't want their hands in your hair again.....

What is the best way to find a new stylist?
Ask your friends or trusted co-workers with fabulous hair who they see. Honestly, though, the best way is if you see a stranger in the super market with amazing hair (who fixes their hair to go grocery shopping??  It must be a great cut!), ask her who her stylist is and if she has a card.  Make sure you get her name so when you go in you can say, "I saw Caroline in the grocery store this week....I love her hair and she referred me to you!" This will make the stylist feel like a million bucks and she will definitely give you the 5 star treatment.  Also, a lot of stylists have referral rewards....so Caroline might get something extra for referring you, and so might you!  The best reward, though, is being relaxed in the chair and leaving knowing you look foxy!


Victoria Beckham approves this message! (not really...she endorses nothing in this blog...but I think she would if she knew about it)

More questions?  Contact this Stylin Fox at likeafoxblog@yahoo.com

Have a stylin weekend....like a fox!

Shopping When Hungry=Savvy Fail.

Hey there foxy readers!  One sure way to kill your savvy shopping buzz is to get to the checkout line at the grocery store and find that you've gone way over budget.  The easiest way to do that is to shop while you're hungry.  Suddenly everything on the shelves looks delish.  Even things you may ordinarily pass, are suddenly on the checkout counter just waiting to go home with you!   Another easy way is just poor planning.  How many times do you walk into the grocery store to pick up something for dinner and walk out with everything except what you came in for?

2010 can be different.  With just a little pre-planning you can get your shopping skills in order and spend less time and less money and have better mealtimes at home in the process!

First of all... eat something before you go to the grocery... at the very least drink a small glass of orange juice, the natural sugar should curb your appetite long enough for you to shop!

Second... the most important shopping tool is your weekly menu.  So many times we stop and get something fast because well, it's just easier... but it's rarely healthier and rarely cheaper than eating at home!  Make yourself a weekly menu... if you want a night out... just plan it!   You can make your own, or go for one of these printable menus available on etsy (Geeky--are you seeing this?!).
Grab the circular from your favorite grocery establishment and plan your menu around the sales.  Getting tired of the same ol' meals?  Google is your friend!  There are so many good cooks out there just giving their recipes away!  One of my absolute favorites for great homemade recipes is Tammy's Recipes. Try her homemade pizza dough recipe...
a-freakin-mazing!  Take a poll of your families favorite restaurants and meals.  There are lots of CopyKat cooks out there trying to get just that right blend of their favorite restaurant's signature dish!  Don't forget the coupons!

With your menu made, you can now make out a very accurate shopping list.  This next step may be the hardest part... do not deviate from your list!  It will be hard to resist those oreo's on the endcap... but it will be worth it when you bake the brownies that were on your list instead!

In the end... with a plan of attack, you can cut the amount of extras that just "jump" into your cart... cut the guesswork out of your dinner plans and save some time and dough in the process...

And that's just one of many ways to stay savvy, savvy?

Wednesday, February 3, 2010

Square Foot Gardening!

Hello foxy readers,
     I am Crunchy Fox.  I am on a mission to make our lives and our pockets a little "greener."


Recently I was talking with some friends about square foot gardening.  I had never really read about it or even considered doing it.  But, after talking with my friends and reading about it I am convinced it is a good idea.  We will be doing a square foot garden this spring in our yard. I can't wait!!!!!!!!!!!!!!!

You may be asking yourself ..... " what the heck is she talking about?"  So, here is some information I found that might help explain this awesome concept.

Square foot gardening is originated by Mel Bartholomew.  To purchase his book click here!


What is square foot gardening?  
Well, it is an easy way to grow your very own garden by basically building a box with a grid.  It saves time, water, work, and money.


(Earth friendly tip: find free left over wood at construction sites to build your box out of.  If they're gonna trash it you may as well create something useful out of it!)

Why?
It can be done in a small 4 foot by 4 foot area, no fertilizers are necessary, can be started during any season, produces 5 times the harvest than your typical garden, and the best part of using this gardening method you do no weeding, no thinning, no heavy digging and best of all it's a money saver. 


Watch a video about square foot gardening tips for February . . . .  CLICK HERE!


Starting your square foot garden:

- Pick a location that gets at least 6-8 hours of sunshine daily.

- Follow the basics: Layout your garden in squares. Build boxes to hold a new soil mix above ground. 

- Place boxes 3' apart to form walking aisles. Fill boxes with Mel's special soil mix: 1/3 blended compost, 1/3 peat moss, and 1/3 coarse vermiculite. Make a permanent square foot grid for the top of each box. NEVER walk on your growing soil. Select something different for each square foot. Plant. Water. Harvest.

- build a box, fill with Mel's Mix, add a grid. THATS IT!


This sounds like a fun and easy way to garden.  I will post pictures this spring when we make our square foot garden. 


Put a little crunch in your day!
"Crunchy Fox"


Resources: www.squarefootgardening.com


Tuesday, February 2, 2010

GEEK ALERT! Widget Tutorial!


Hiya foxes!!! So I'm the geeky fox....I haven't always been a geek but here lately I guess you could call me that! I LOVE LOVE LOVE designing things on my computer and want to learn more and more everyday!

So for all you bloggers out there I'm going to give you a little tuturial on how to make a copy/paste widget for YOUR super cool blog!!!  The example of what I will be making is ----------------> over here at the top!


They look a little something like this..
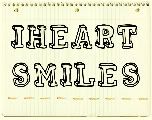


 + the html code for easy copy/paste action on your blog!!!
 
You can see more examples HERE on
 
LA's Blog...


just scroll down and look on the bottom right hand side for her widgets!!!

p.s. LA is my geeky crush!!! She designs super cool things with her computer too!!!

So lets get started!!!


Step 1. Create an image! It can be a photo or logo or whatever you want!


You can use picnik.com or any photo editing program to make this!!!

Step 2: Upload your photo into photobucket.com
Step 3: Click EDIT picture
Step 4: Click RESIZE
Step 5: Resize your picture to the *preset SMALL 160x120* on the drop down menu
Step 6: Click APPLY
Step 7: Scroll down and click REPLACE ORIGINAL
Step 8: Scroll down and on the left side there are a few codes. Copy the DIRECT LINK and paste it to a     word doc.
Step 9:  Now COPY/PASTE this code into your word doc.


<center><a href="YOURWEBSITE" target="_blank" title="TITLE NAME"><img button alt="Blog" src=" PHOTOBUCKET DIRECT LINK" /></a><center> </center> <center><textarea id="code-source" rows="3" name="code-source"><center><a href="YOURWEBSITE"><img border="0" src="PHOTOBUCKET DIRECTLINK " /></a></center></textarea></center></center>

Step 10: Don't freak out at that alien language! It's your friend!!!
Step 11: type your website into the spaces between the " "

(ex." http://www.iheartsmilesblog.blogspot.com " ) you will do this TWO times!

Step 12: PASTE the DIRECT LINK from PHOTOBUCKET where it says
"PHOTOBUCKET DIRECT LINK"
( ex. " http://i933.photobucket.com/albums/ad175/dreamingtreestudio/mommafia-p003-2.jpg " )


Your FINAL HTML code should look something like this...


<center><a href="http://www.iheartsmilesblog.blogspot.com" target="_blank" title="TITLE NAME"><img button alt="Blog" src=" http://i933.photobucket.com/albums/ad175/dreamingtreestudio/mommafia-p003-2.jpg" /></a><center> </center> <center><textarea id="code-source" rows="3" name="code-source"><center><a href="http://www.iheartsmiles.blogspot.com"><img border="0" src="http://i933.photobucket.com/albums/ad175/dreamingtreestudio/mommafia-p003-2.jpg " /></a></center></textarea></center></center>


Step 13: Still with me??? Good!!! Almost done!!! Now go into blogger.com and click on customize.
Step 14: Add an HTML Gadget
Step 15: Paste the HTML code we have been working on and save.
Step 16: View your blog and check your NEW WIDGET OUT!

Now your faithful blog followers can snag that html code available at the bottom of your *new* widget and copy/past that into their blog!!! It will allow people to click on it and link DIRECTLY to your super cool blog!!!

I hope this was super easy for you! If you have ANY questions PULEEZ feel free to email me at iheartsmiles@ymail.com !!!!


Get your Geek On!!!
xoxo Desiree AKA GEEKY FOX!!!


Monday, February 1, 2010

DIY Photo Garland

Anyone who has ever talked to me about crafting, walks away knowing one thing:  I have a craft crush on this girl
I read her blog daily (sometimes twice a day)!  I have gotten so much inspiration from her.   So, today's crafty...like a fox idea comes right from Elsie, of course!

A few weeks ago, Elsie had some cute polaroid-like holiday decor ideas

I added these to my favorites and knew I would be back to try them.  Today was the perfect day!  In the first photo, Elsie actually uses pictures from a Fuji Instax camera.  It prints out little pictures that are very similar to polaroids.  I don't have one of these cameras, so I decided to make my own polaroid-like photos!  Here's what you need to get started:
Since I'm cutting letters out of my photos, I chose photos that were lit badly or blurry or duplicates.  Next, you'll need to cut your cardstock and photos. 
The cardstock needs to be 3.5" wide and 4" high.  The photo should be 3"x3".  Next, with your exacto knife, cut out your letter on the photo. I just freehanded mine, but you could trace your favorite font.  I wanted mine to look a little funky!   It helps if you do this on a self healing mat.  That way you won't accidentally cut into your countertop or table!

Glue down your photo on your cardstock.  Position it so that it resembles a polaroid.
That's all you need to make your "polaroids".  I wanted to add a little extra touch to mine, so I just drew little dashes around the inside of the letter
Cute, huh? 
When you get all your photos ready, you need to punch a couple of holes on each side of the photo.  Take some yarn or some other kind of stringing material and slide your photos through. 
Hang it up!
Ta-Dah!!!

I made this for the Geeky fox for her 1st craft show.  I thought it turned out super cute!


I hope she loves it!  :)


Have a great day!
DeAndra